
04
Jul
PIR sensor Interfacing With Arduino
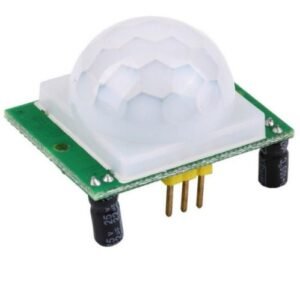
Introduction to PIR Sensor:
A PIR sensor is a device that can detect the presence of humans or animals by measuring the infrared radiation emitted by their bodies. It is commonly used in security systems, motion-activated lighting, and other applications that require motion detection.
Working Principle:
A PIR sensor detects changes in infrared radiation within its field of view. The sensor consists of two halves, each containing a pyroelectric sensor. When an object emits infrared radiation, the sensor detects the difference in heat between the two halves, triggering an output signal.
Specification of PIR Sensor:
- Detection range: up to 7 meters
- Detection angle: 110 degrees
- Operating voltage: DC 4.5V – 12V DC
- Output signal: 3.3V digital output
- Delay time: adjustable from 0.3 seconds to 5 minutes
- Operating temperature: -15°C to +70°C
- Sensitivity: Adjustable
Adjusting PIR Sensor Sensitivity:
Some PIR sensors have a sensitivity adjustment potentiometer. By adjusting this potentiometer, you can control the detection range and sensitivity of the sensor.
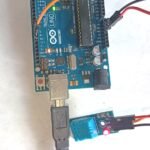
Components Required
- Arduino UNO
- PIR Sensor
- Power supply
- Connecting wires
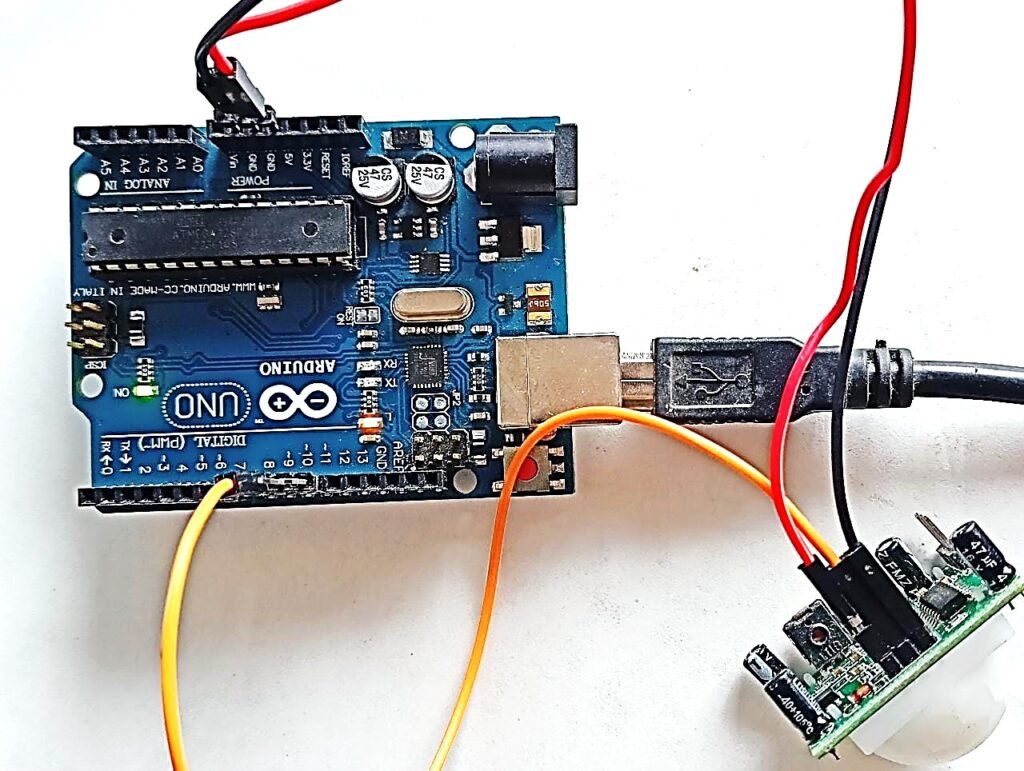
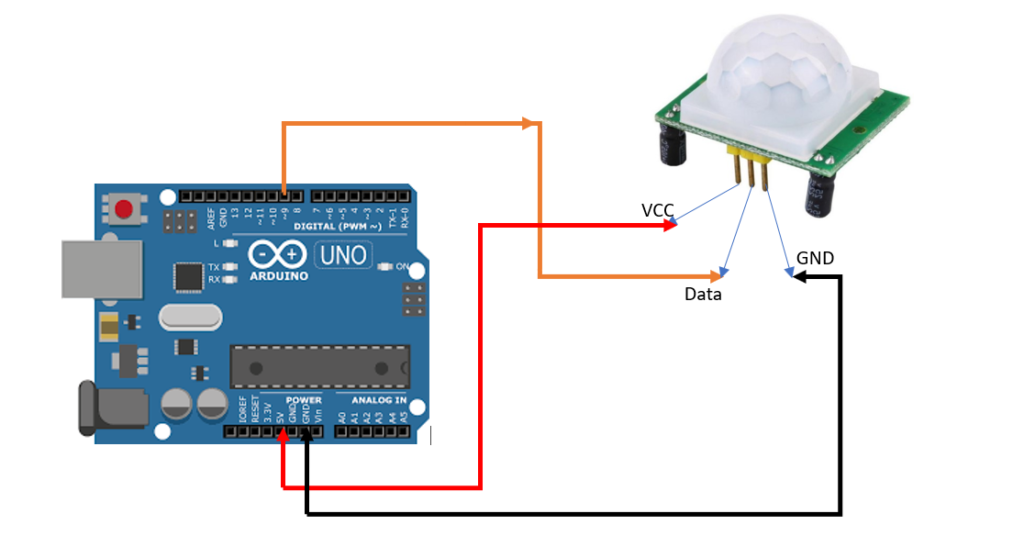
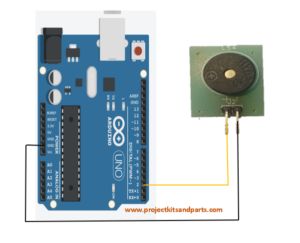
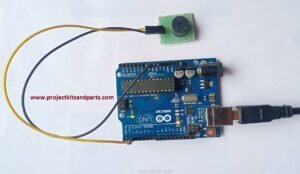
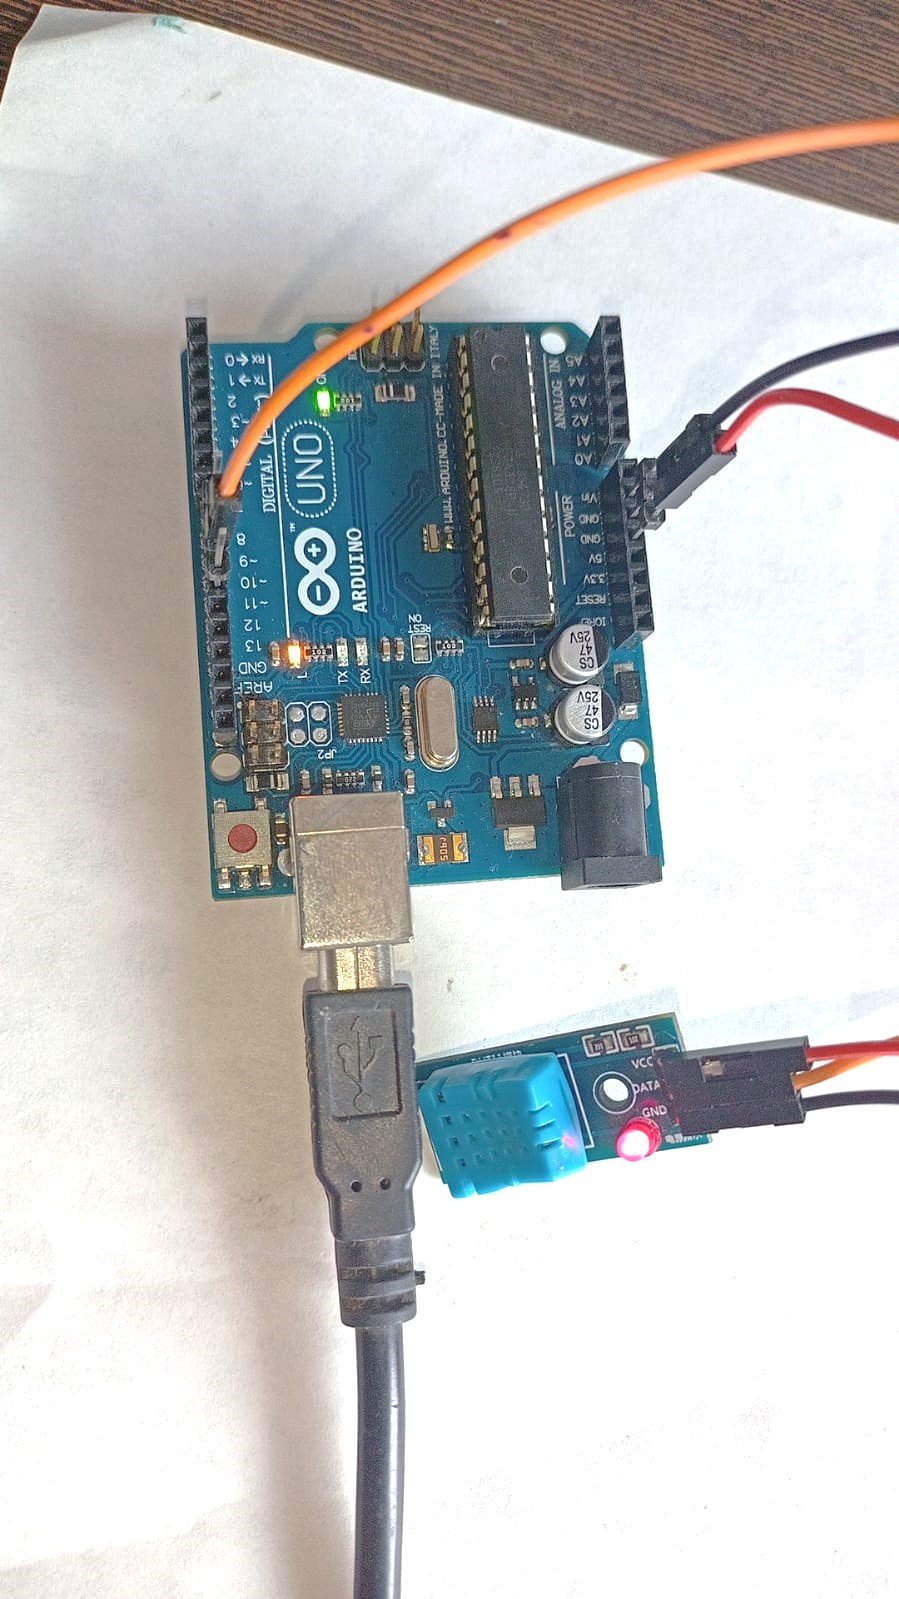
Hardware Connections:
To connect the PIR sensor to an Arduino board, follow these steps:
- VCC pin–5V pin of the Arduino board.
- GND pin–GND pin of the Arduino board.
3. OUT pin–Connect it to digital pin 9 of the Arduino.
Circuit Connection:
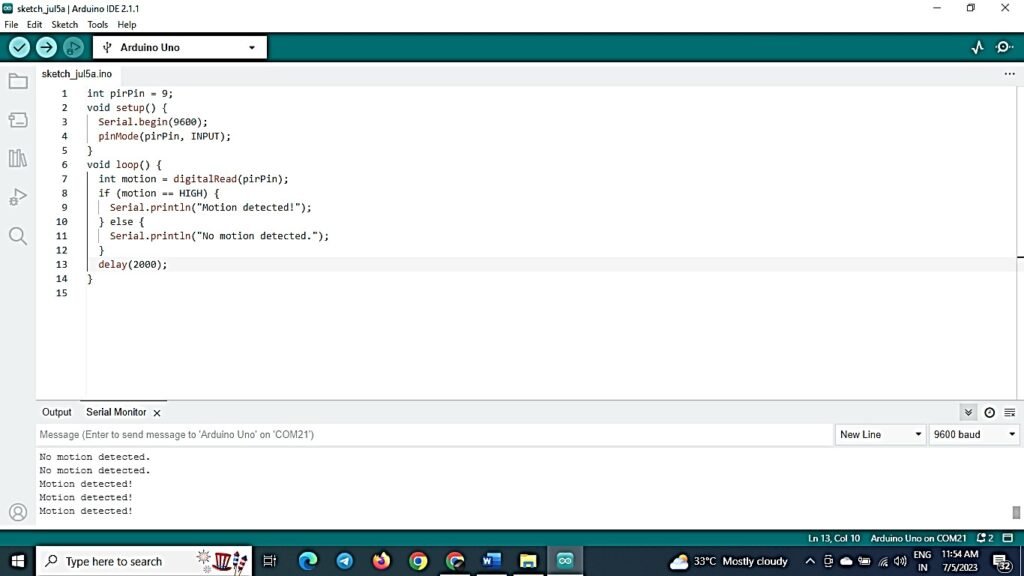
CODE:
int pirPin = 9; //projectkitsandparts.com/ develop by Surabhi.N.Bhivsenkar
void setup() {
Serial.begin(9600);
pinMode(pirPin, INPUT);
}
void loop() {
int motion = digitalRead(pirPin);
if (motion == HIGH) {
Serial.println(“Motion detected!”);
} else {
Serial.println(“No motion detected.”);
}
delay(1000);
}
Code Explanation:
1 In the `setup()` function, we initialize the serial communication at a baud rate of 9600 and set the PIR pin as an input.
2 In the `loop()` function, we read the state of the PIR sensor using `digitalRead(pirPin)`. If motion is detected (the PIR sensor outputs a HIGH signal), it prints “Motion detected!” to the serial monitor. Otherwise, it prints “No motion detected.”
3 We introduce a delay of 1 second between readings using `delay(1000)`.
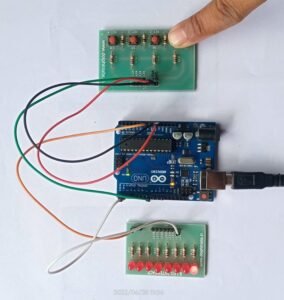
OUTPUT


