
11
Jul
Installation of ESP8266 (NodeMCU) Board in Arduino IDE 2.1 (Windows)
There is a new version of Arduino IDE called Arduino IDE 2.1.(beta). This tutorial will guide you through the process of installing ESP8266 boards in Arduino IDE 2.1 .
The tutorial is compatible with Windows -10 operating systems.
- Go to the Arduino website and download the version for your operating system.
https://www.arduino.cc/en/software/#experimental-software
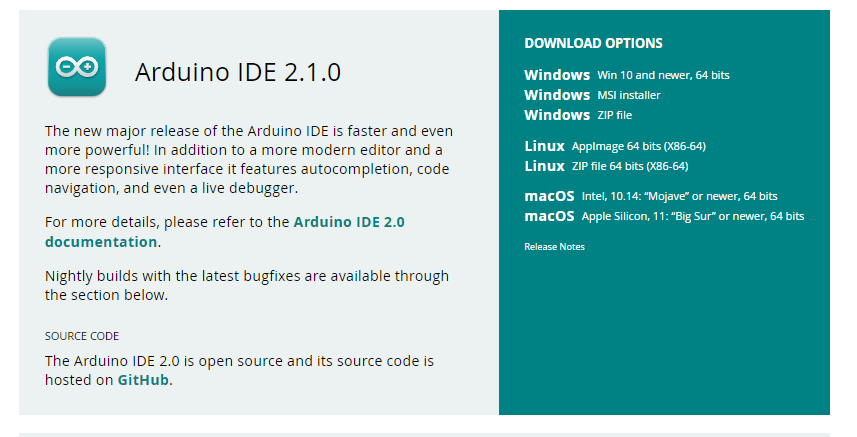
- Click on Download Options and download the file
- After Downloading install the IDE for that follow the steps

Click on Agree button to continue
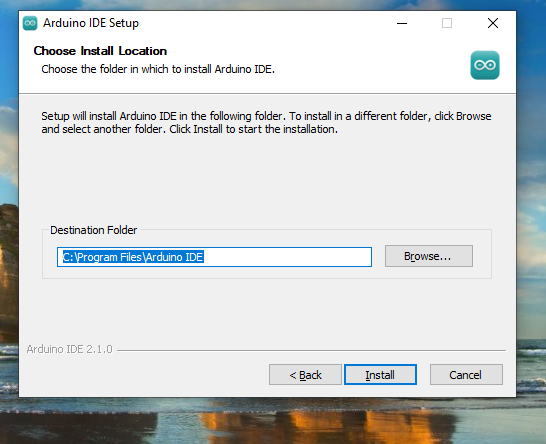
Click on the Install button
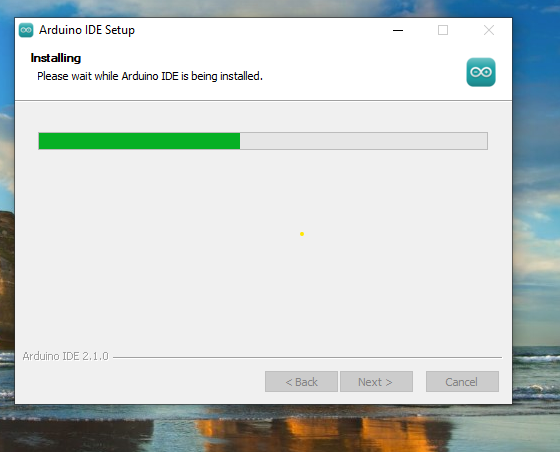
It’s Starting installation of IDE
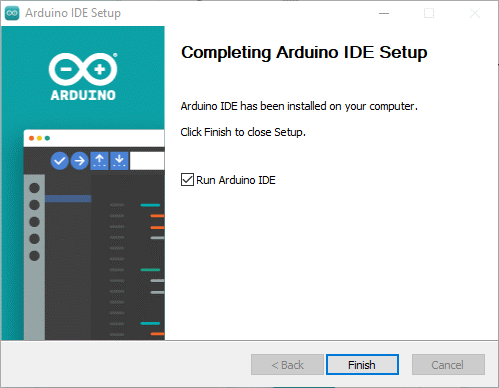
- After compliting installation click on Finish button
- To install the ESP8266 board in your Arduino IDE, follow these next instructions:
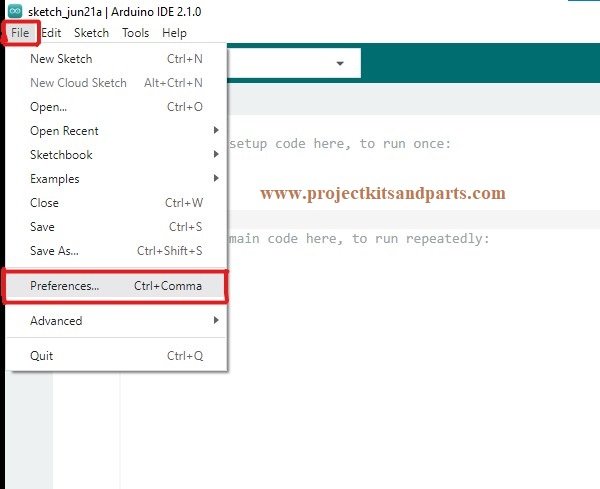
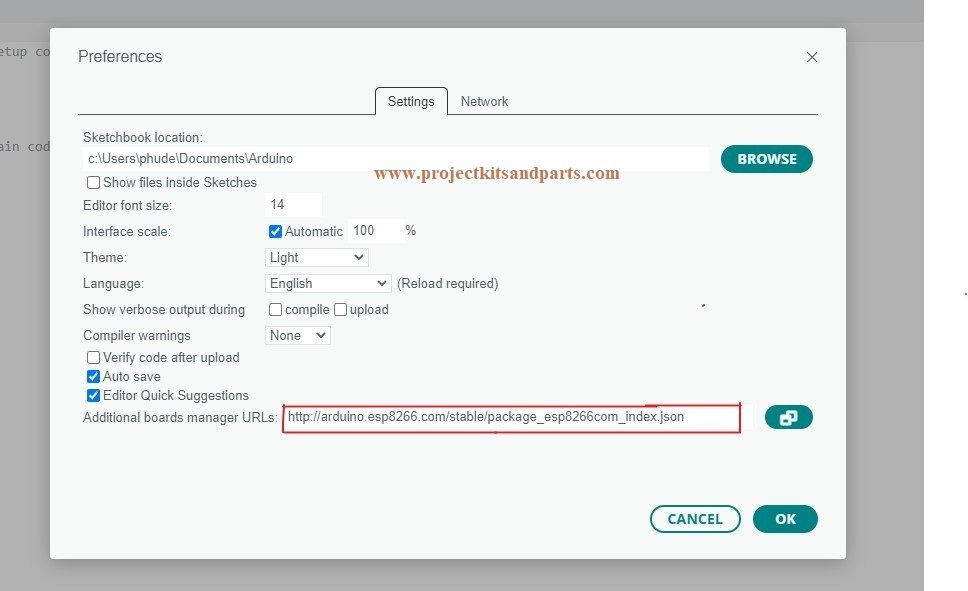
- In your Arduino IDE 2.1., go to File > Preferences.

2. Copy and paste the following line to the Additional Boards Manager URLs field.http://arduino.esp8266.com/stable/package_esp8266com_index.json
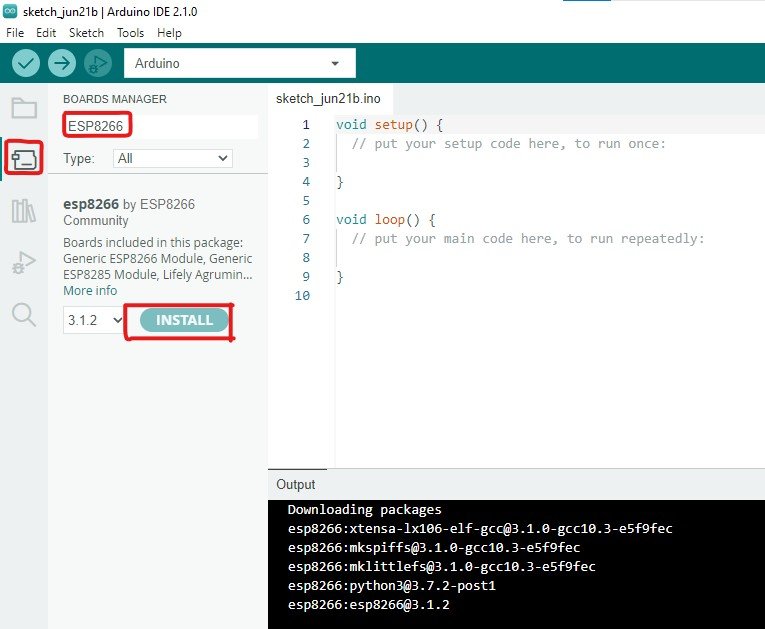
3. Open the Boards Manager. You can go to Tools > Board > Boards Manager… or you can simply click the Boards Manager icon in the left-side corner.
4. Search for ESP8266 and press the install button for esp8266 by ESP8266 Community.
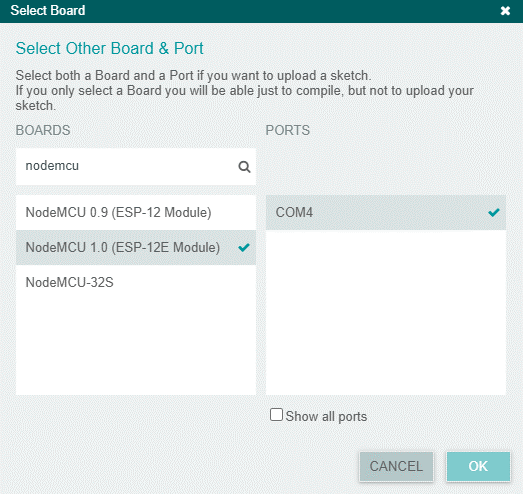
After completing installation click on Select board and Port the select the esp board and COM number Properly.
Your installation is complete ..Now you are ready to write your first program.. welcome to world of IoT……

